Blue Mee
Enchanted Mushroom Lamp DIY Kit
Enchanted Mushroom Lamp DIY Kit
Couldn't load pickup availability
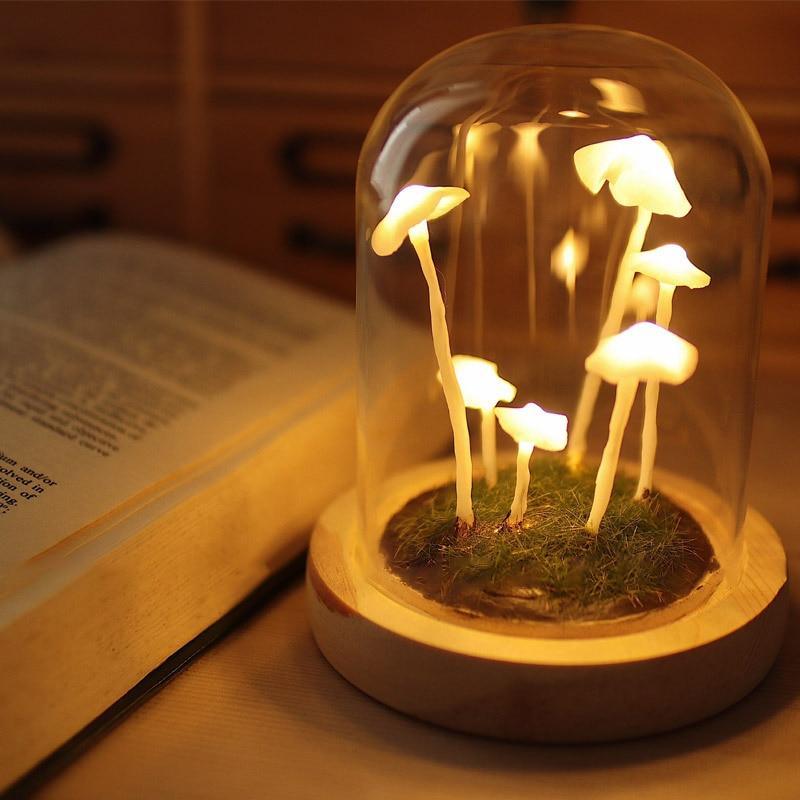
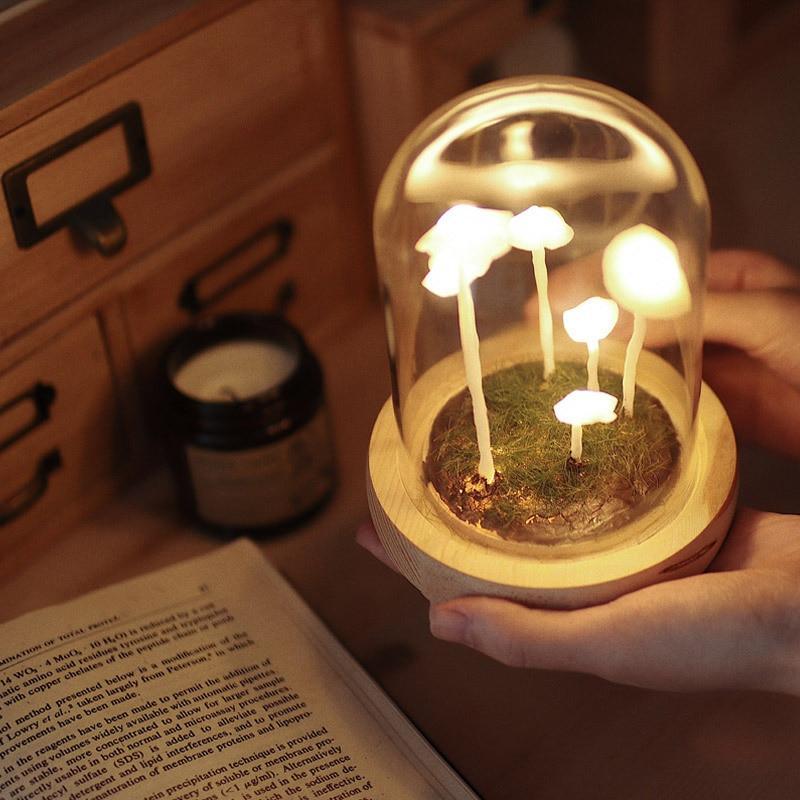
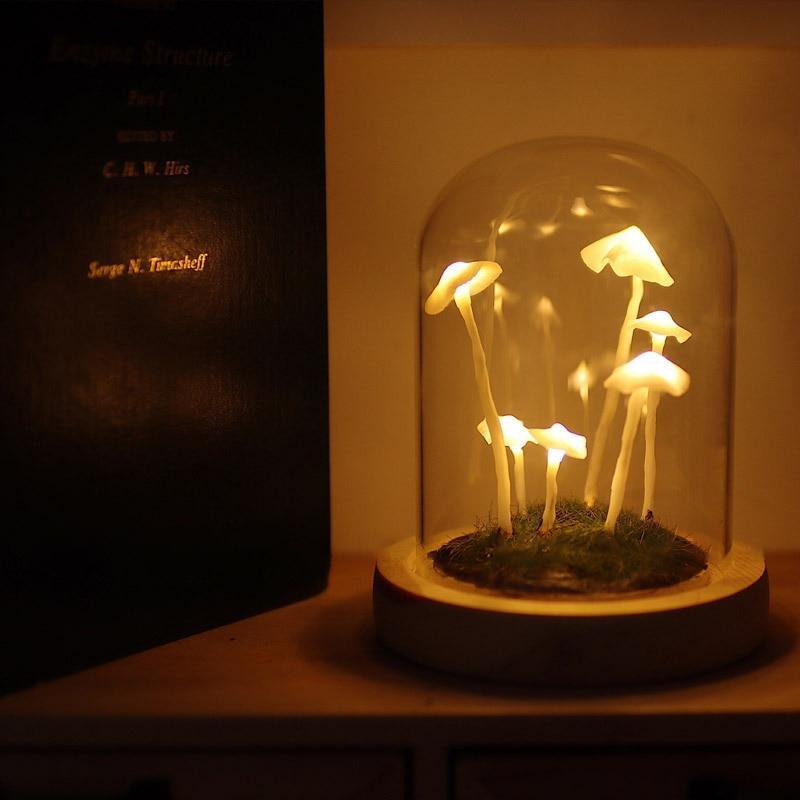
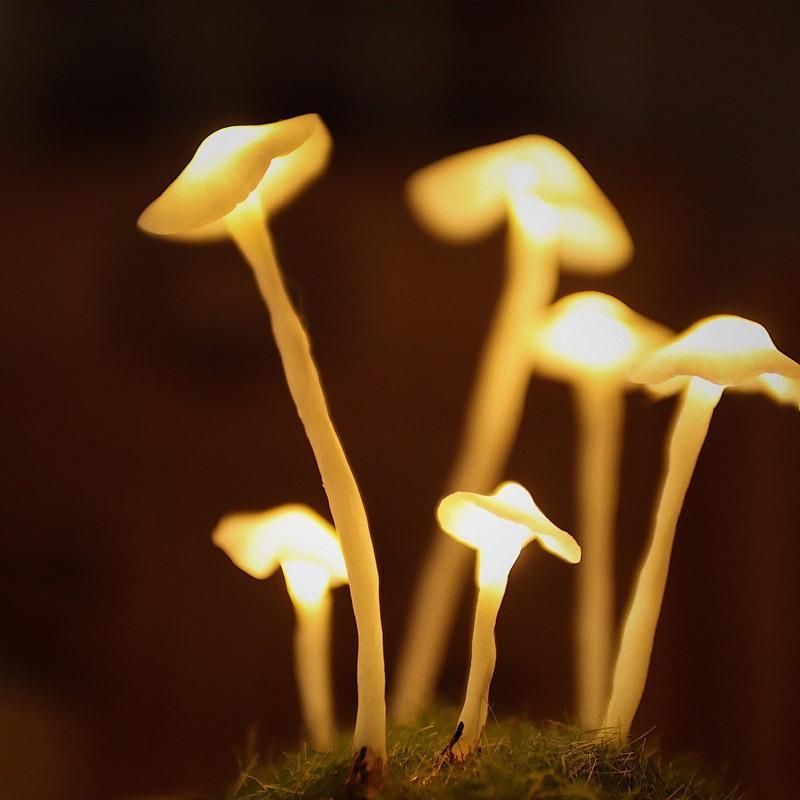
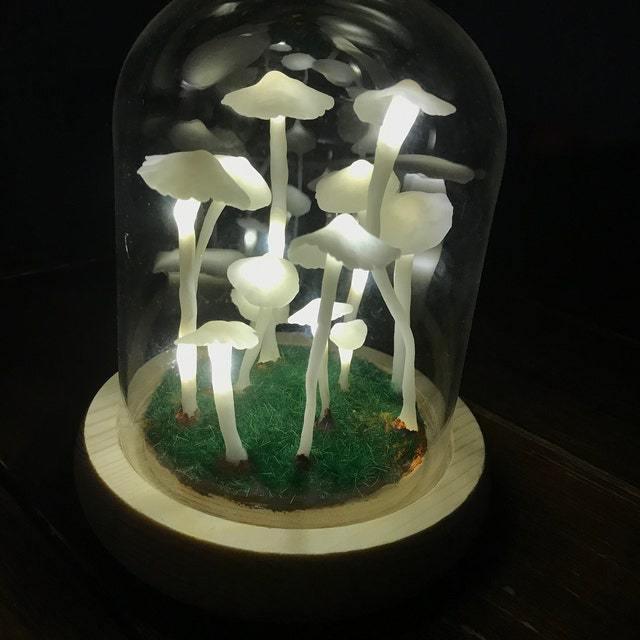
What appears to be a mythical treasure found in a fairy tale is actually a lovely eco-friendly blend of wood, glass and LED lights. This is the ultimate DIY project for that friend who's crazy about all things mushrooms!
In the kit, you will find all the essential materials to create your own customized mushroom lamp. The process of making can take a few days, and does not require artistic knowledge to complete. The results are rewarding however! Simply follow our instructions and create your own awesome-looking mushroom light!
Details
- Material: Glass + Wood
- Size: 12x 9cm/4.72x3.54in
- Power supply: 3 AAA Batteries (Not Included)
- Comes disassembled; DIY Project
Assembly Instructions
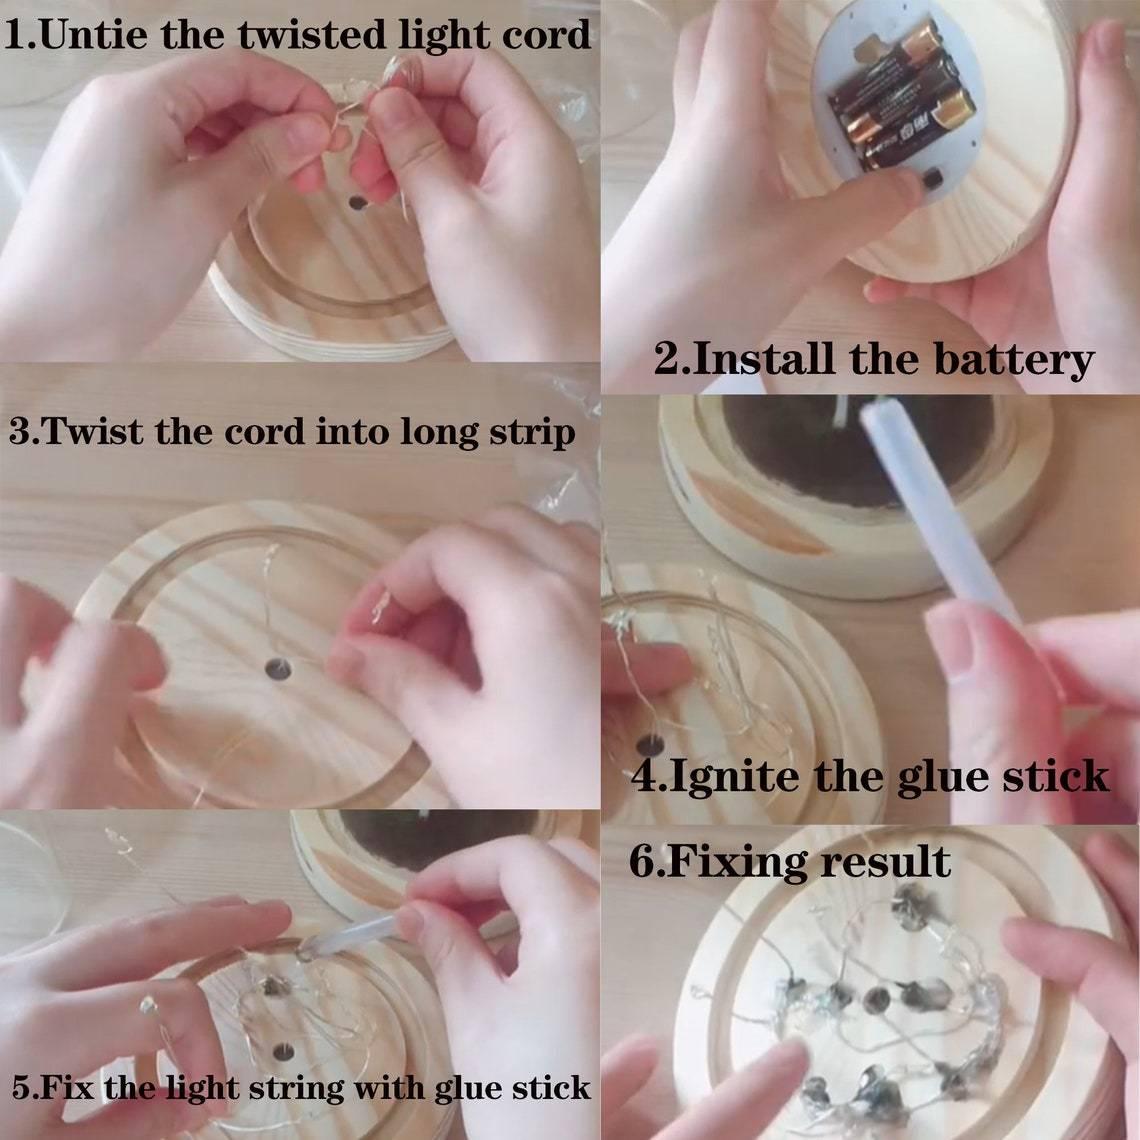
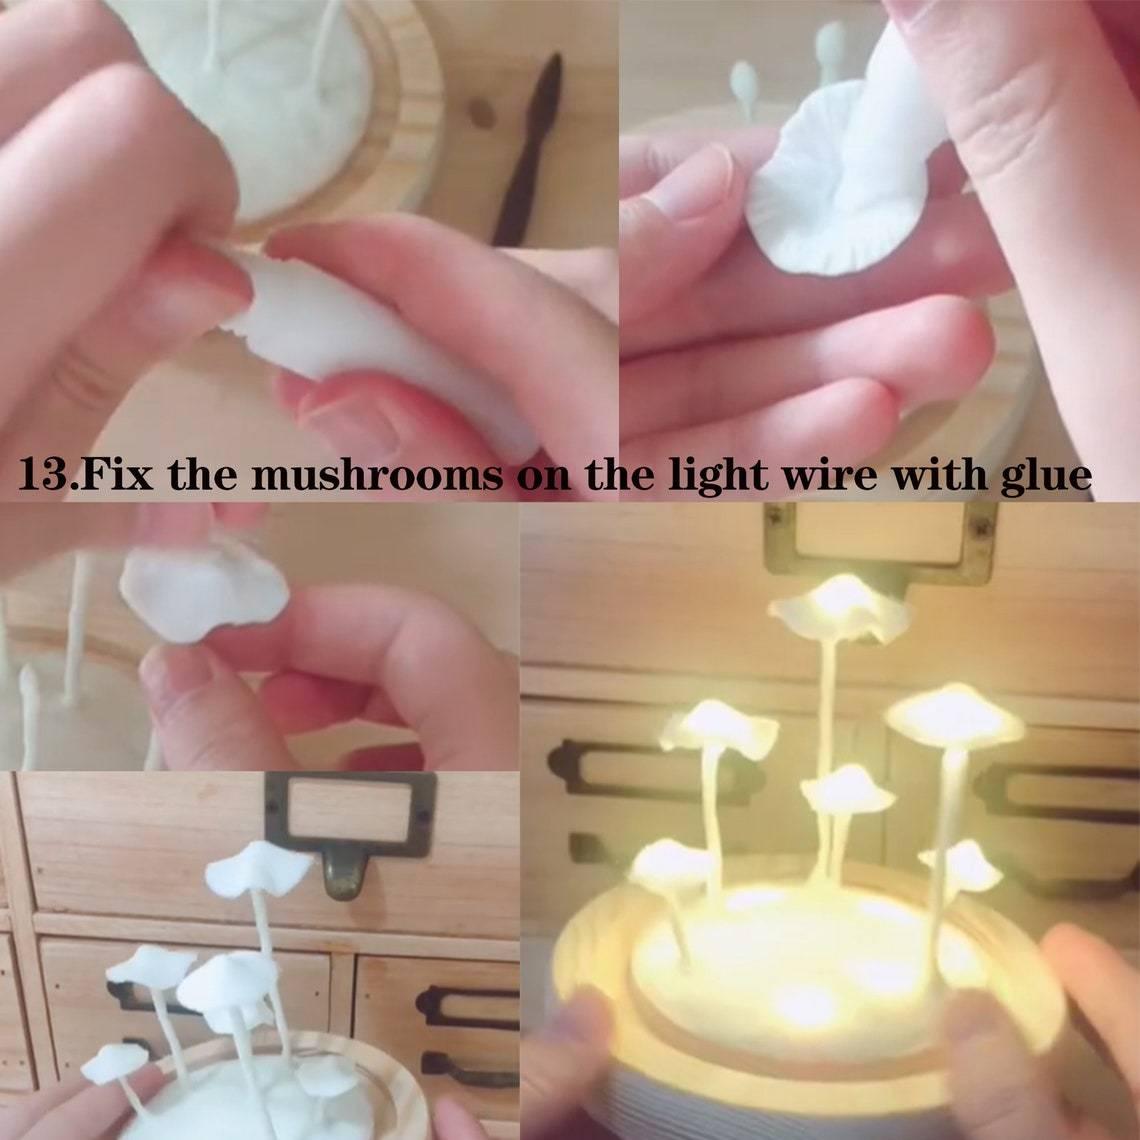
Step 1: Twist the wire out of the approximate shape and height of the mushroom. (Probably made 6-7 different mushrooms, the remaining wires can be spread on the bottom). The height of the mushrooms can be set according to your preference.
Step 2: Arrange the distance and height of the mushrooms, and fix the bottom of the wires with hot melt glue.
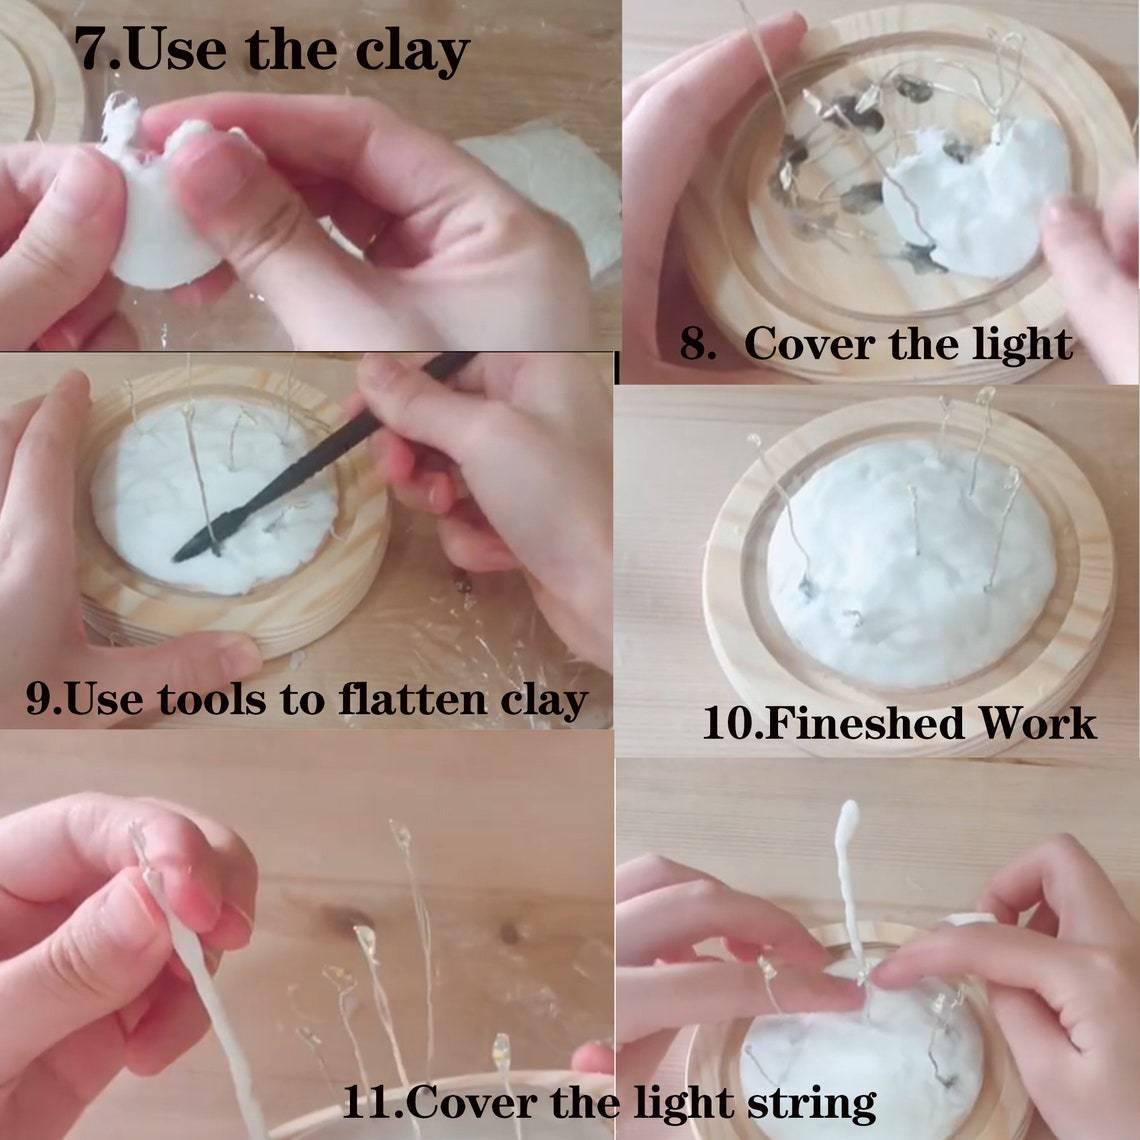
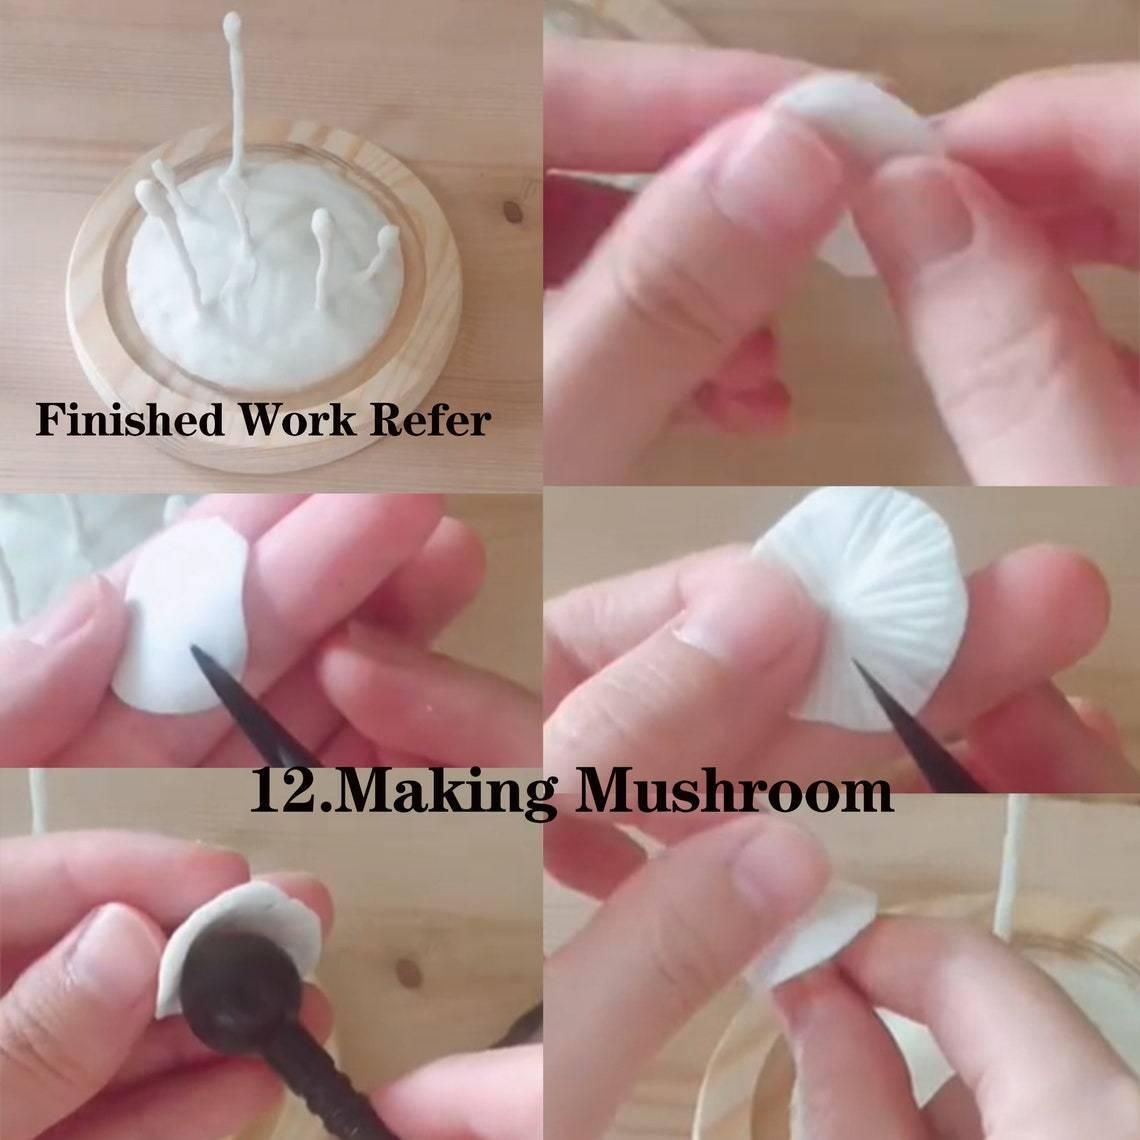
Step 3: Cover the bottom with clay, the high point of the clay in the middle makes people feel like a mound, by making a curved lawn. And knead it into similar-sized stems.
- Note: The clay needs to be encapsulated.
- Note: The stems can be made into thick and thin mushroom stems according to your preference. Mushroom stems need to be rubbed evenly by hand. In the process of making mushroom stems, there should be no traces of broken wires, otherwise the mushroom stems will crack when the clay dries.
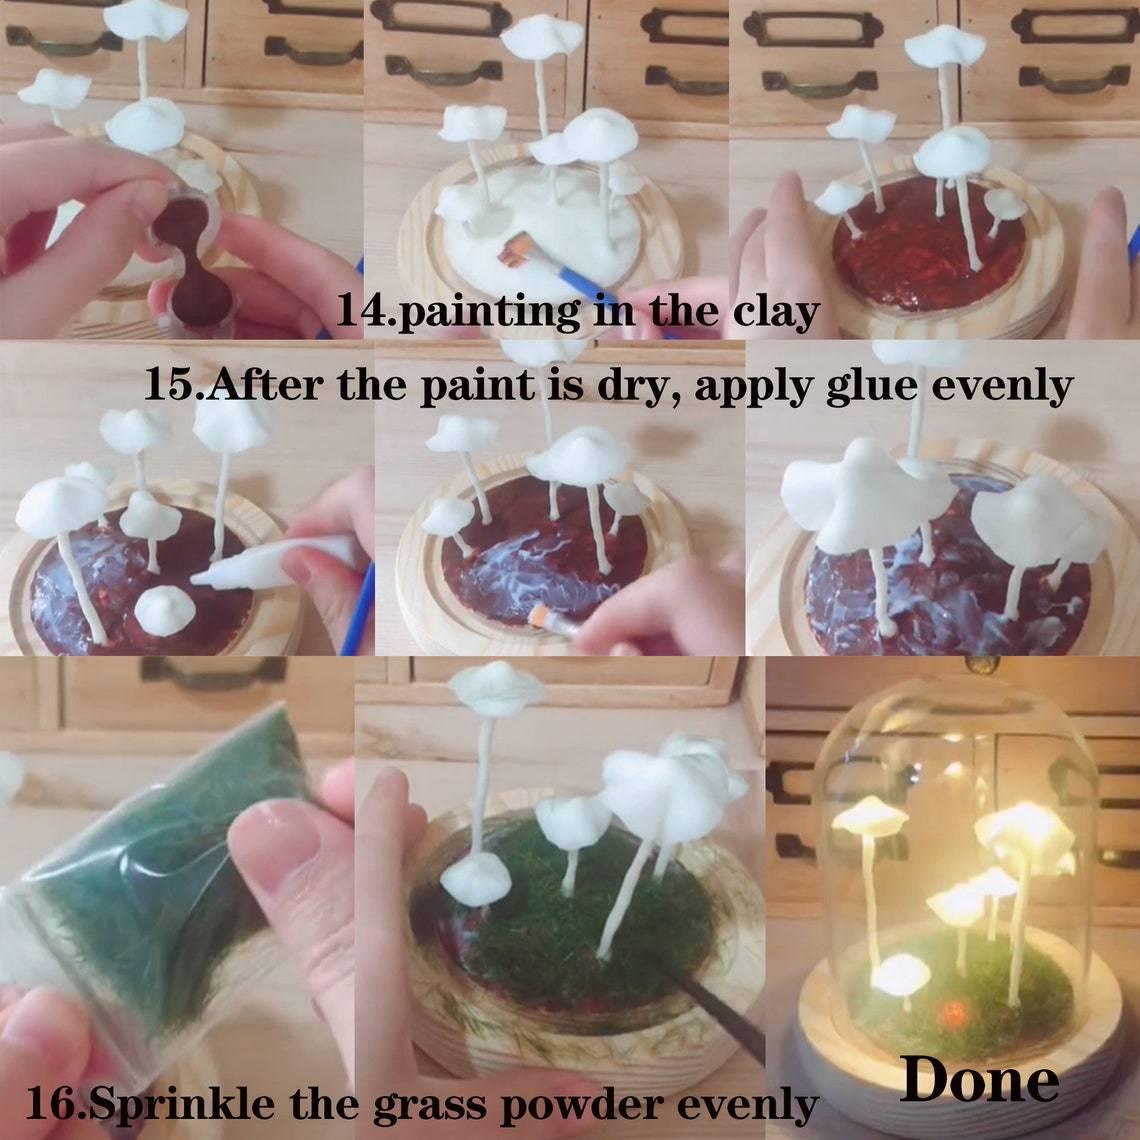
Step 4: Apply a layer of brown paint on the bottom and let it dry after painting.
Step 5: When the paint is dry, apply latex evenly.
Step 6: Sprinkle grass powder
Step 7: Leave it for a day or two, wait until the clay is completely dry, cover with a glass cover, and you have a beautiful mushroom lamp!
